Kick Panel Speakers
Supplies:
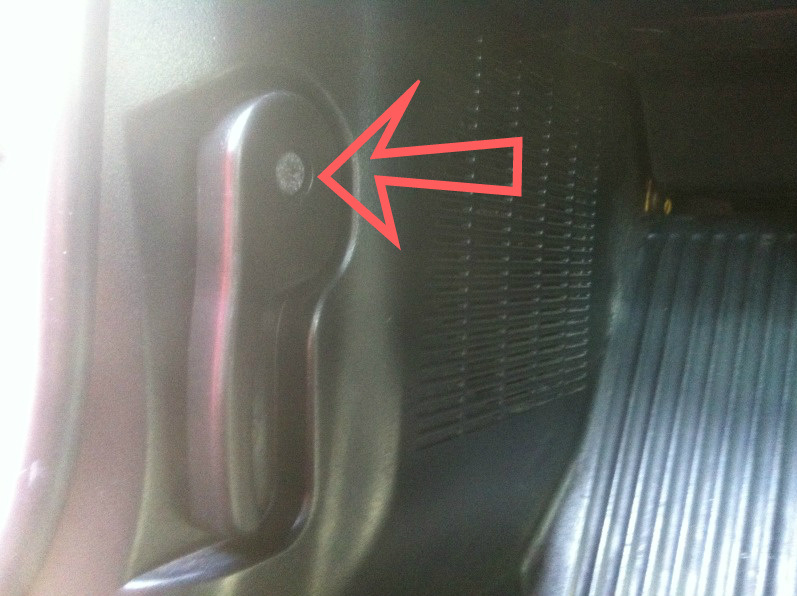
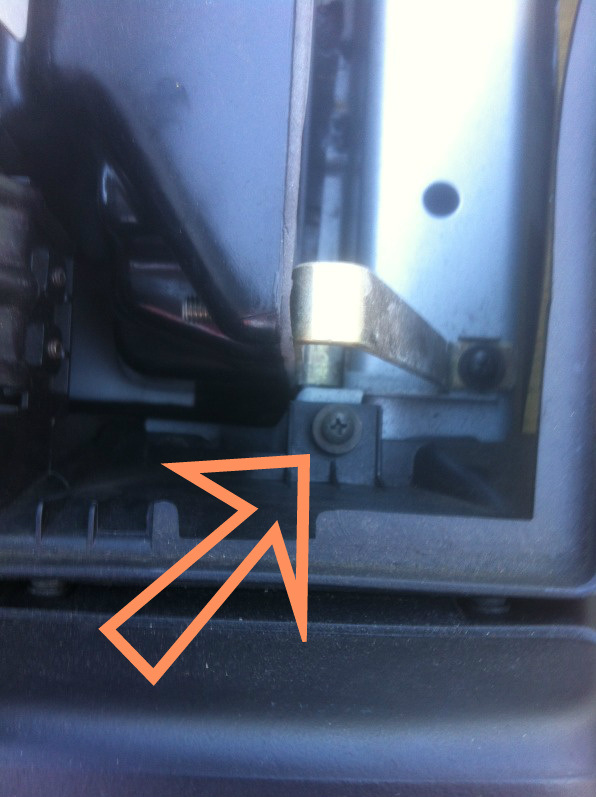
Step 1
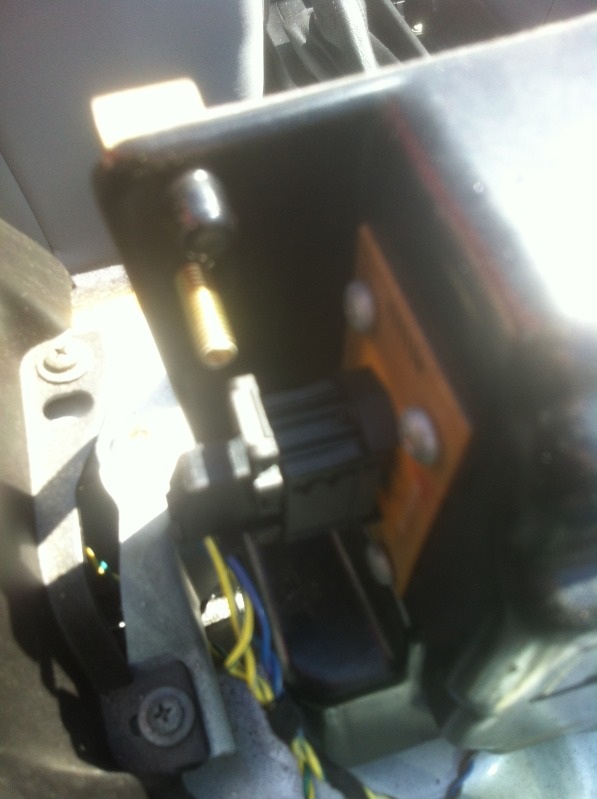
Use a Philips Head screw driver to remove the Screw holding in the hood latch release.
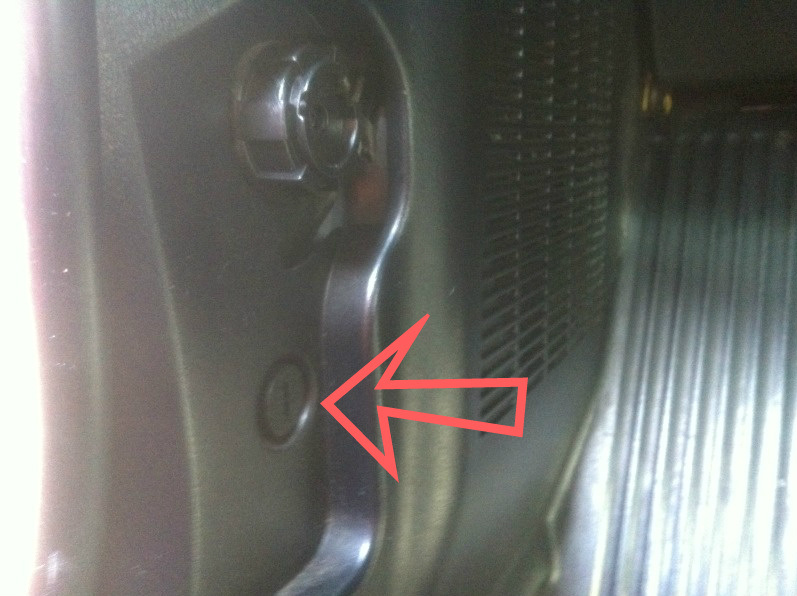
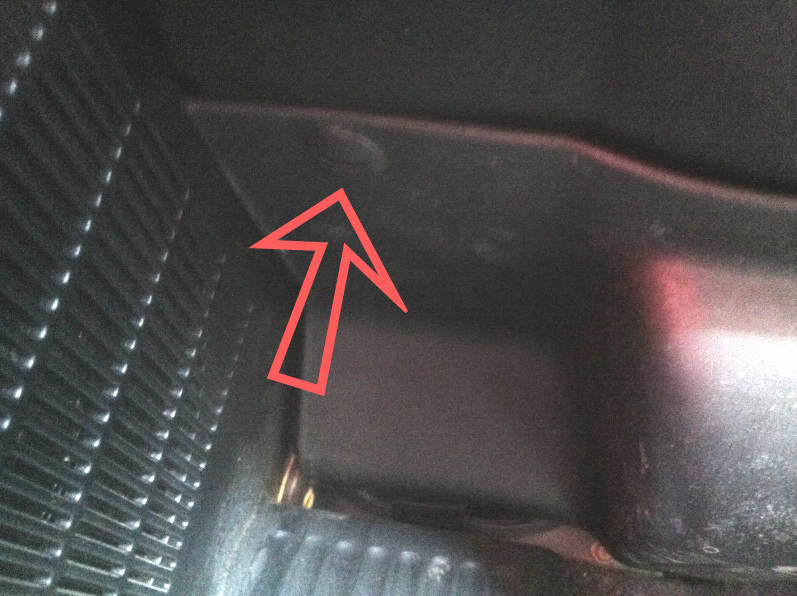
Step 2
Use a Flat Headed screw driver to turn the plastic screw to release the kick panel.
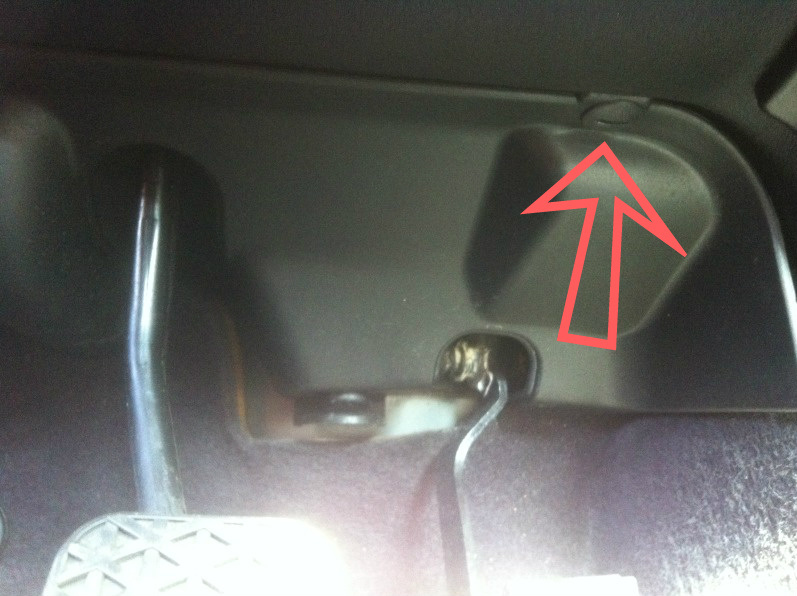
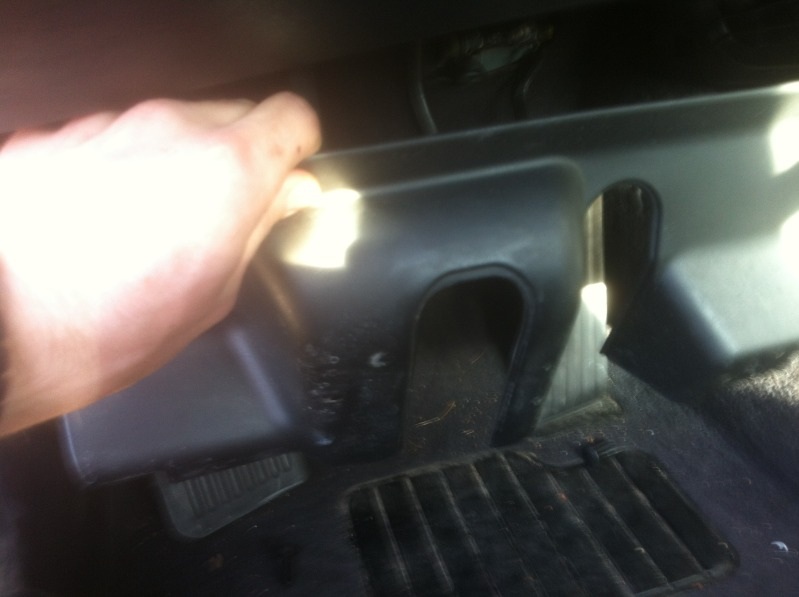
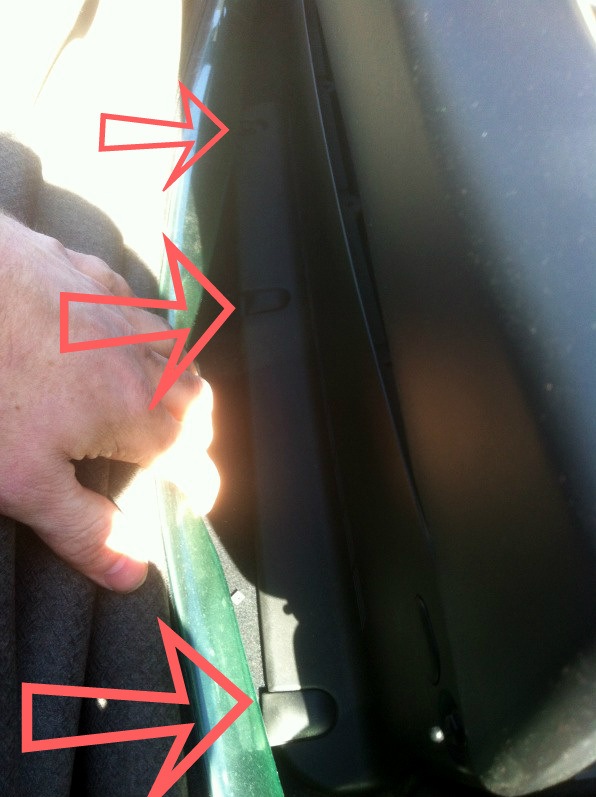
Step 3
Remove the plastic screws on the right and left sides of the pedal cover and then remove it by pulling it down. [may have to release some hooks first]
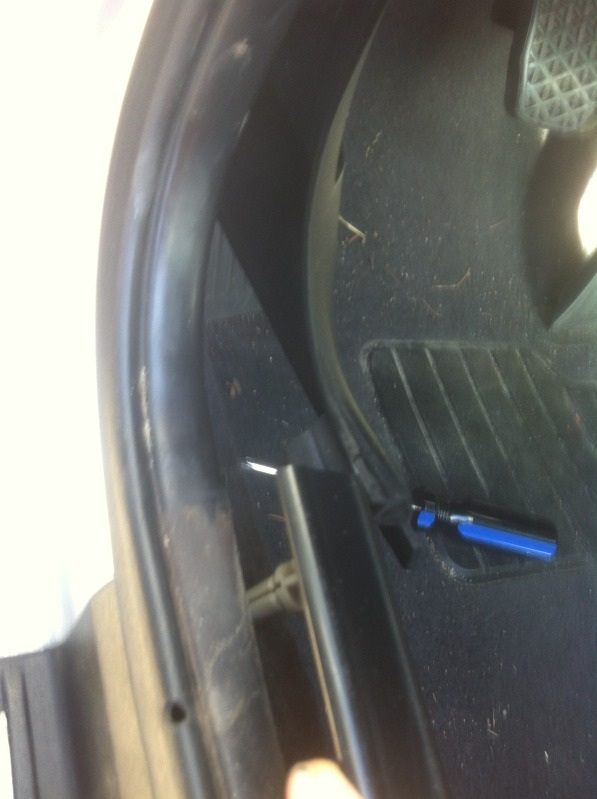
Step 4
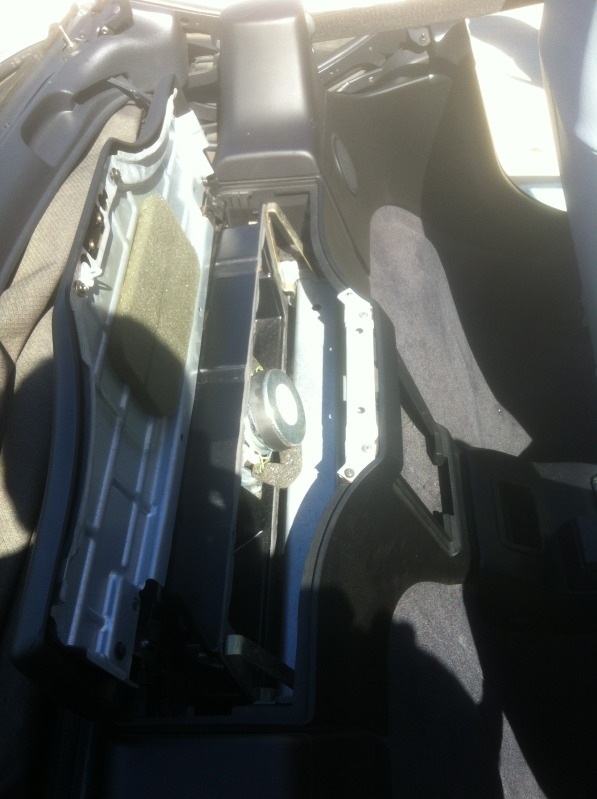
Carefully pop up the drivers sill and pull the bottom lip of the kick panel free. Then grab the kick panel housing and unhook the footrest from the carpet and pull down and out to remove it. [careful may have sharp edges]
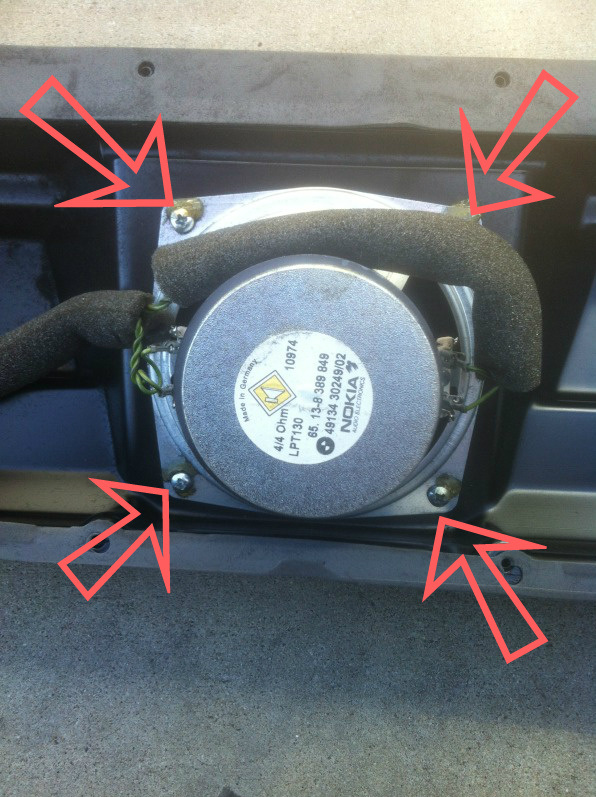
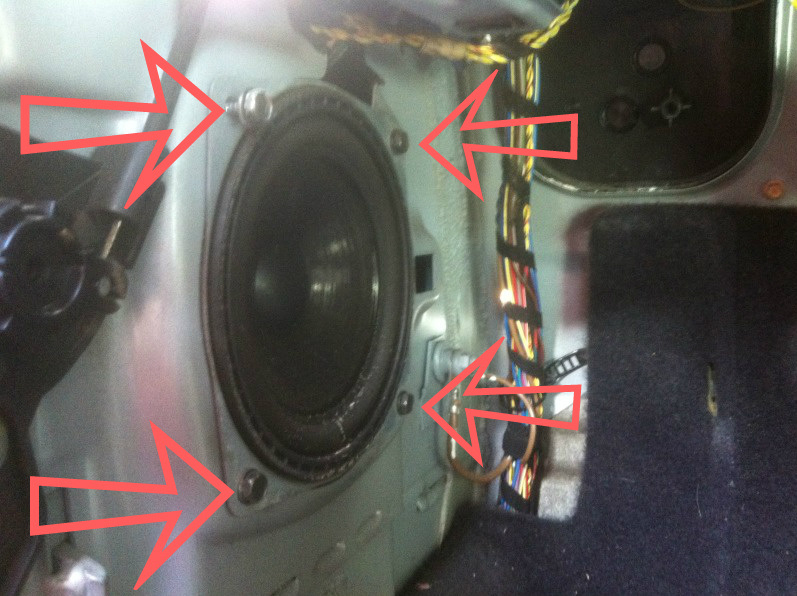
Step 5
With the Kick Panel removed you can remove the 4 Screws using an 8mm Nut Driver to remove the Speaker.
Step 6
Pull on the Positive and Negative wire to remove them.
Sub Woofer Box
Supplies
Phillips Head Screw Driver
10mm Deep Well Socket
T20 Torx Driver/ Allen Wrench
10mm Deep Well Socket
T20 Torx Driver/ Allen Wrench
Step 1
Lower Soft Top/ Remove Hard Top.
Step 2
Move Seats all the way foreword.
Step 3
Remove Front Speaker grill.
Step 4
Open Sub lid then remove the 2 screws inside the box, one on each side.
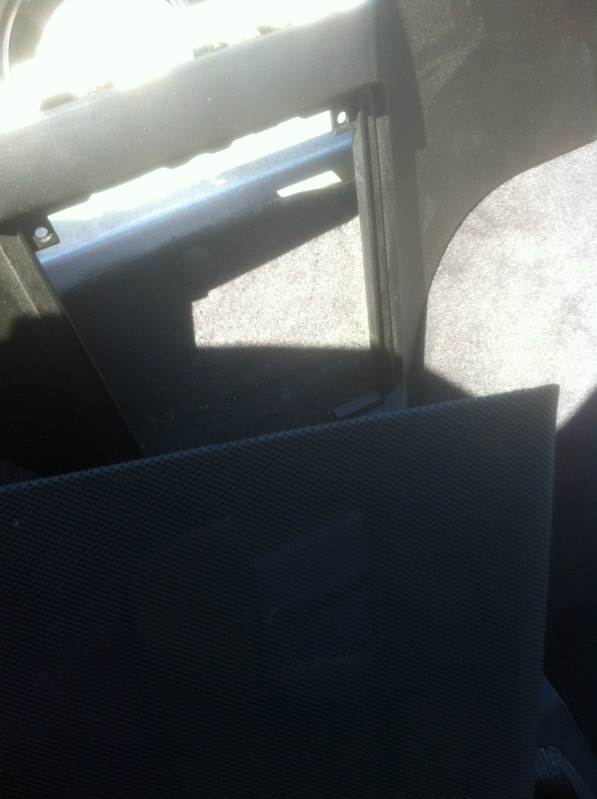
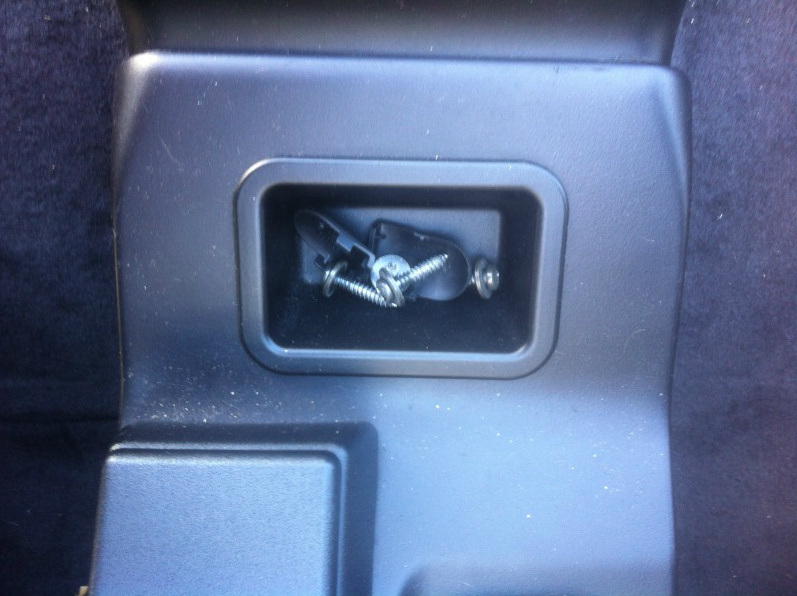
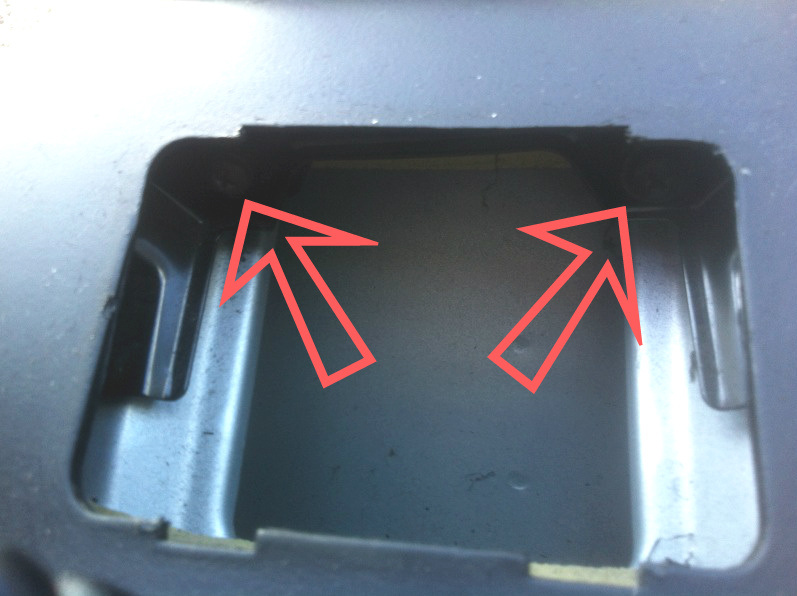
Step 5
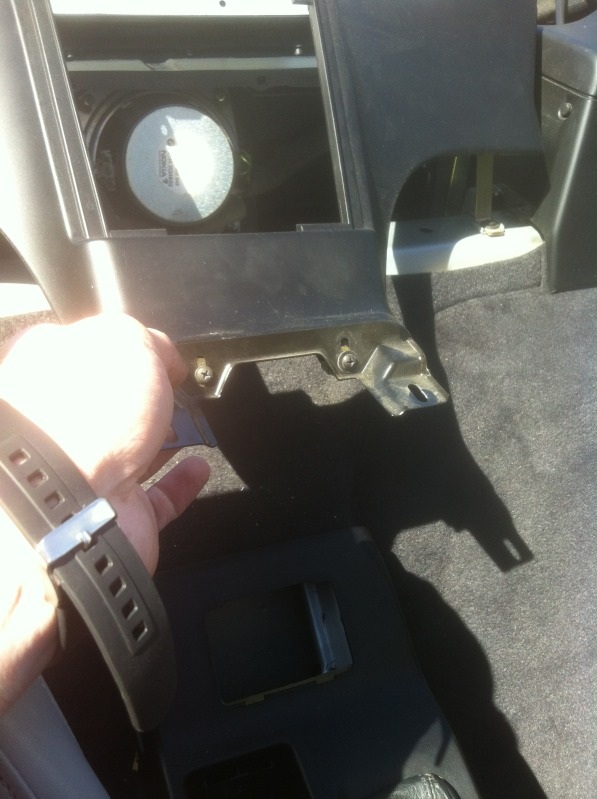
Remove Center console tray [under sub cover] then remove the two screws at the top.
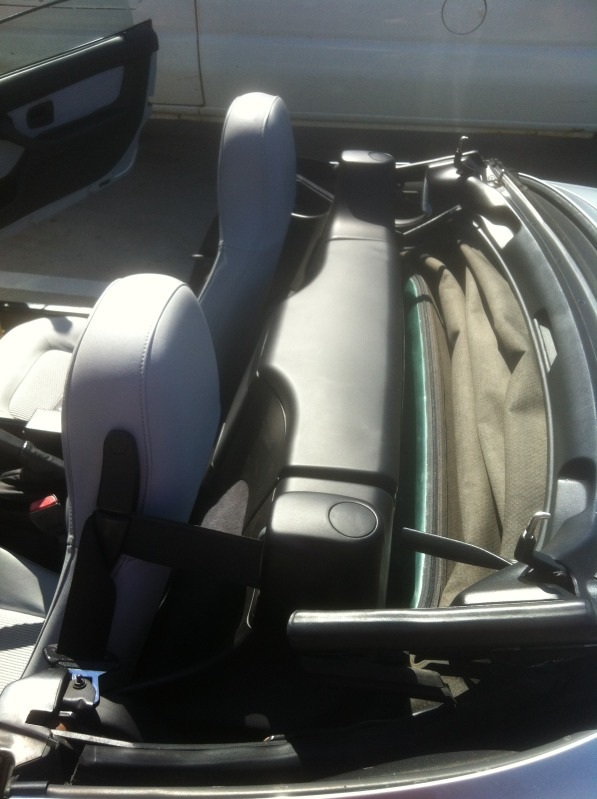
Step 6
Pop off the 3 dust covers then remove the screws under them. [may need to pull your soft top out of the way] then pull up and remove the box enclosure.
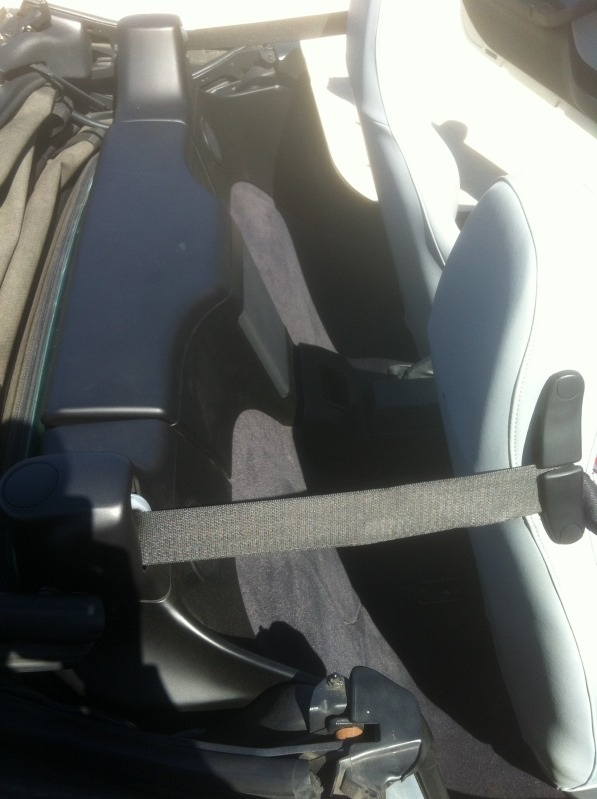
Step 7
Remove the 10mm Bolts holding the sub enclosure onto the brackets. [2 on each side]
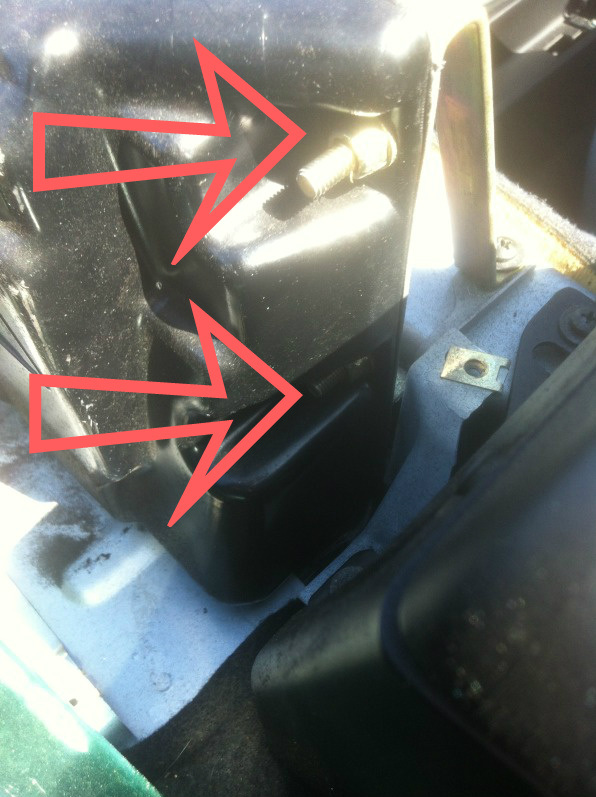
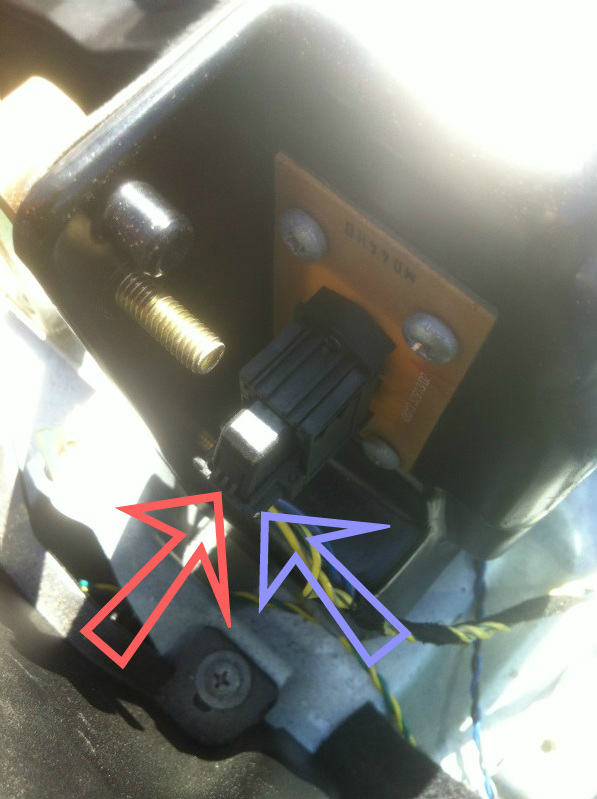
Step 8
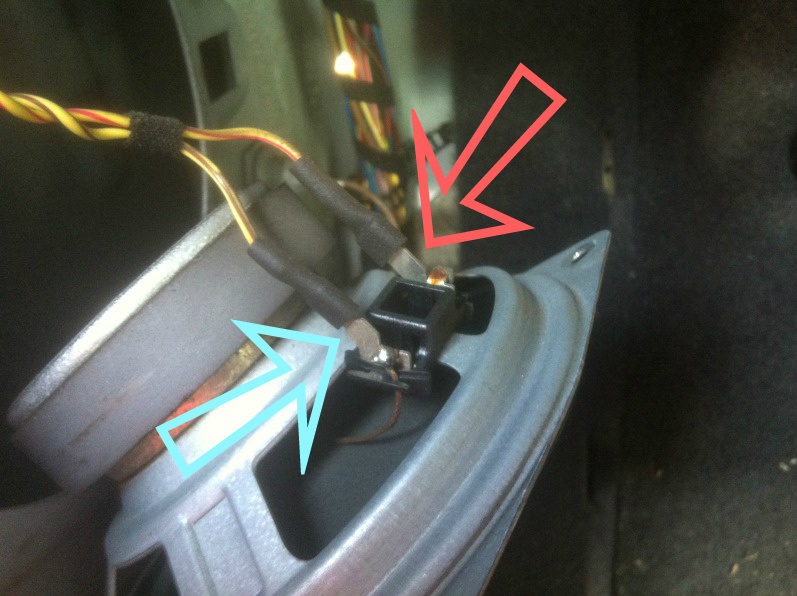
Remove the sub box connector by pushing on the button and flipping the lever up.
Step 9
[Not Pictured] remove the screws around the front of the sub box using a T20 Torx driver them remove the front cover of the sub box.
Step 10
remove the 4 Philips head screws to remove the sub. [Note: this is a Dual Voice Coil Sub, hence 4 wire connections]